Welcome to the enchanting realm of Mac, where your entrée is marked by the acquisition of the splendid MacBook Pro. This remarkable piece of technological craftsmanship stands as a testament to Apple’s commitment to innovation, blending an exquisite design, formidable performance, and an instinctive operating system that beckons to professionals, scholars, and creative souls alike. Whether you find yourself newly initiated into the Mac ecosystem or transitioning from a different digital realm, the commencement of your MacBook Pro setup heralds an exhilarating voyage into the zenith of Apple’s offerings.
Within the ambit of this compendium, we shall meticulously escort you through the pivotal stages of MacBook Pro initiation and tailoring, thus facilitating a bespoke experience that caters to your unique needs and aspirations. From the ceremonial unboxing of your pristine acquisition to the fine-tuning of personal preferences and the orchestration of software deployments, every facet of this initiation process shall be unveiled for your enlightenment.
The initialization of your MacBook Pro constitutes a straightforward yet pivotal procedure that unfurls a gateway to the myriad features and capabilities of your cherished device. This intricate ritual encompasses an array of activities such as the customization of device settings, the establishment of a symbiotic Wi-Fi communion, the initiation of the Apple ID login, and the seamless migration of data from your antecedent device. It is through these intricate steps that you will craft an optimized Mac experience, culminating in the harnessing of the full potential of your newfound MacBook Pro.
Without further ado, let us embark on this journey and commence the inaugural rite – the unboxing of your coveted MacBook Pro.
Step 1: The Art of Unboxing
Congratulations are in order for the acquisition of your brand-new MacBook Pro! The commencement of your MacBook Pro voyage commences with the delicate choreography of unboxing. Apple’s commitment to delivering a premium unboxing experience is evident in the meticulous packaging.
Upon taking possession of your MacBook Pro, you shall be greeted by a resplendent and robust box. Exercise care as you delicately strip away the protective plastic wrap and gracefully slide the box from its elegant sleeve. As the box unfolds akin to a treasured tome, the MacBook Pro shall reveal itself, nestled serenely within. Gently lift this technological marvel from its sanctuary and place it upon a pristine, level surface.
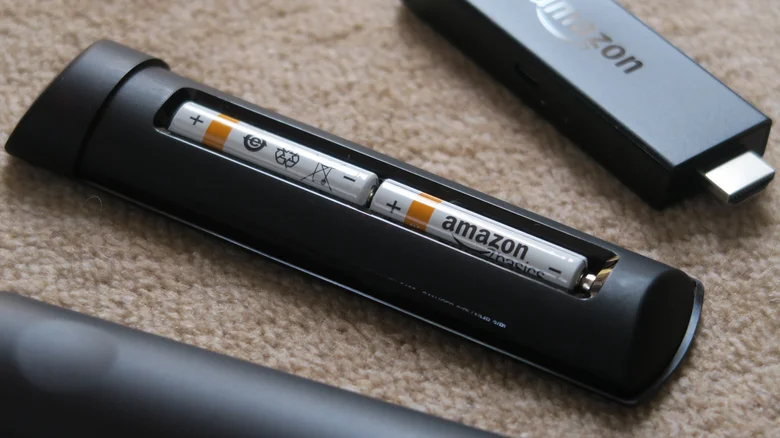
Beneath the MacBook Pro, you shall discover a diminutive box that houses essential accessories – the power adapter and charging cable. Elevate this petite coffer and carefully extract these indispensable tools. Amongst the various documents and guides accompanying your MacBook Pro, take a moment to peruse them, for they hold invaluable insights into the device’s features and the setup chronicle.
Take a measured look at your MacBook Pro, scrutinizing it for any visible scars or blemishes sustained during its journey to your abode. While the odds are low, any discernible dents, scratches, or anomalies warrant immediate contact with Apple Support for requisite redress.
Upon concluding this preliminary inspection, turn your attention towards the MacBook Pro’s power button, which typically resides in the upper-right quadrant of the keyboard. Bestow a gentle, protracted press upon this button for a few seconds. In response, a mellifluous startup chime shall serenade your ears, and the illustrious Apple insignia shall grace your screen. Congratulations are once again in order, for you have completed the inaugural step of unboxing and powered on your newfound MacBook Pro. The subsequent stage shall usher us into the labyrinth of the initial setup process, ensuring that your MacBook Pro stands poised for utility.
Step 2: Awakening the MacBook Pro
Having triumphed in the unboxing ceremony, the time has now arrived to invoke the life force within your MacBook Pro. The venerated power button, positioned with regal prominence in the upper right corner of the keyboard, shall serve as the conduit for this grand commencement.
In the grand theatrical performance of awakening your MacBook Pro, the key to its activation is, quite literally, the power button. Gently press and clasp this button for several seconds, and in response, the auditory overture of a startup chime shall resound, accompanied by the visual spectacle of the Apple logo alighting upon your screen. This mesmerizing diorama signifies the awakening of your MacBook Pro, as it begins its intricate ballet to initialize and prepare for the forthcoming setup.
Upon the conclusion of this initial performance, the curtain shall rise to reveal the macOS Welcome screen, the stage upon which the overture of your MacBook Pro’s digital existence shall unfold. Here, you shall be invited to select your preferred linguistic dialect, a foundational choice that shall echo throughout your Mac journey. With unwavering resolve, click upon the “Continue” button to progress to the next tableau.
It is worth noting, as a subtle encore, that those who are fortunate enough to bear a heritage from an older MacBook or possess an iOS sibling in close proximity may opt for the Quick Start feature, a performance-enhancing maneuver that expedites the setup. Should this be your circumstance, bring forth your iOS compatriot or the elder MacBook, and as if by the hand of a digital sorcerer, a Quick Start prompt shall materialize upon your screen. Follow the ethereal on-screen instructions, and witness as your settings, files, and predilections traverse the digital expanse to adorn your new MacBook Pro in a symphony of continuity.
For those who elect to forgo the Quick Start overture or those whose devices dwell beyond the veil of iOS, the ardent manual setup beckons. Following your linguistic choice, the stage shall shift to the selection of a nation or region, a decision that imparts the unique cadence of keyboard layouts, time zones, and regional etiquette upon your MacBook Pro. Once the auspicious choice is made, click upon the “Continue” button, and the tapestry of your digital existence shall unfold further.
Our odyssey continues with the third step – the intricate dance of configuring language and regional preferences on your MacBook Pro.